

Admittedly, I may possess the skill sets and ability to accomplish many things ranging from laying hardwood floors, small plumbing repairs, electrical work to making my own home decor and cute crafts made from recycled materials and other everyday items. When it comes to what most would think I would have mastered years ago such as sewing, knitting, and crotchet, the mastery of these has seemed to have evaded me. As far as sewing, I can whip up a pillow case or replace a button in a jiffy, but still limited to very small projects that pretty much only require straight lines. As for knitting and crocheting, let's just say that I probably should have just left the yarn in the craft store I found it in.
Pictured below are two prime examples of what I call "cro-shamed" scarves made last year.

Please take time to soak up all the details of all the wrong going on there.


It was just not making sense to me, too expensive and I am pretty sure these "how to guides" are using some sort of dead language or secret code. Seriously, what the heck is a "STS" or "skein" and what do you mean that the gauge is 11 STS= 4" !? I looked into classes, they too were either too expensive, not held at convinient times, or I had to be a member of the AARP before I could attend. I also have this little issue with patience and long term attention retention. If I can't see a fair amount of progress after a few hours of working, I tend to kill the project and move on. This held true in this instance after working for days only to achieve making large stringy knot blobs. My cats loved it, but otherwise a complete flop. So after I thoroughly massacred about $50 worth of yarn, which is only about 5 balls at retail, (not to mention what the hooks and needle prices are) I pretty much came to terms with my deficiency and packed up my knitting needles and crotchet hooks along with my dreams of forcing my son to wear a hat I had handmade for him or something else along the lines of the pink bunny suite from the Christmas Story Movie.

Well, that lasted all about 6 months when ReStore got a business donation of some of the most beautiful yarn in all sorts of different varieties I had ever seen, just calling my name to rekindle that forgotten domestic crafting desire., with a price tag of $2- $7 each for what would have been $15- $30 in a retail store, I was determined to give it a go again.
You know what else ReStore has an abundance of to help you for free? Amazing volunteers that tend to work in the sections they have the most experienced and expertise in.
And in my case, the Angels of the Linens and Fabric department of the Mooresville ReStore showed me the light and shared with me a few quick beginners tips that got me over the hump of the fleeting frustrating failure that had been my knitting career of the past.
I know it seems strange that I would be writing a DIY on a subject that I actually can't DIY like a pro. But sometimes I find it easier to start learning from non-experts who aren't too technical or so advanced that they can't "dumb it down" for me. I decided to start with crotchet and mastery of one "stick" vs. 2 required in knitting ...
*Note- the following tips absolutely do not contain any correct terminology as it is written for other complete novices.
Tip 1: Google and Error
This method seems to always work for me. I searched for "how to crotchet" and again found a plethora of stuff written in a secret code. So I searched again but this time I searched for video tutorials. Seeing someone actually going through the motions was a HUGE help.
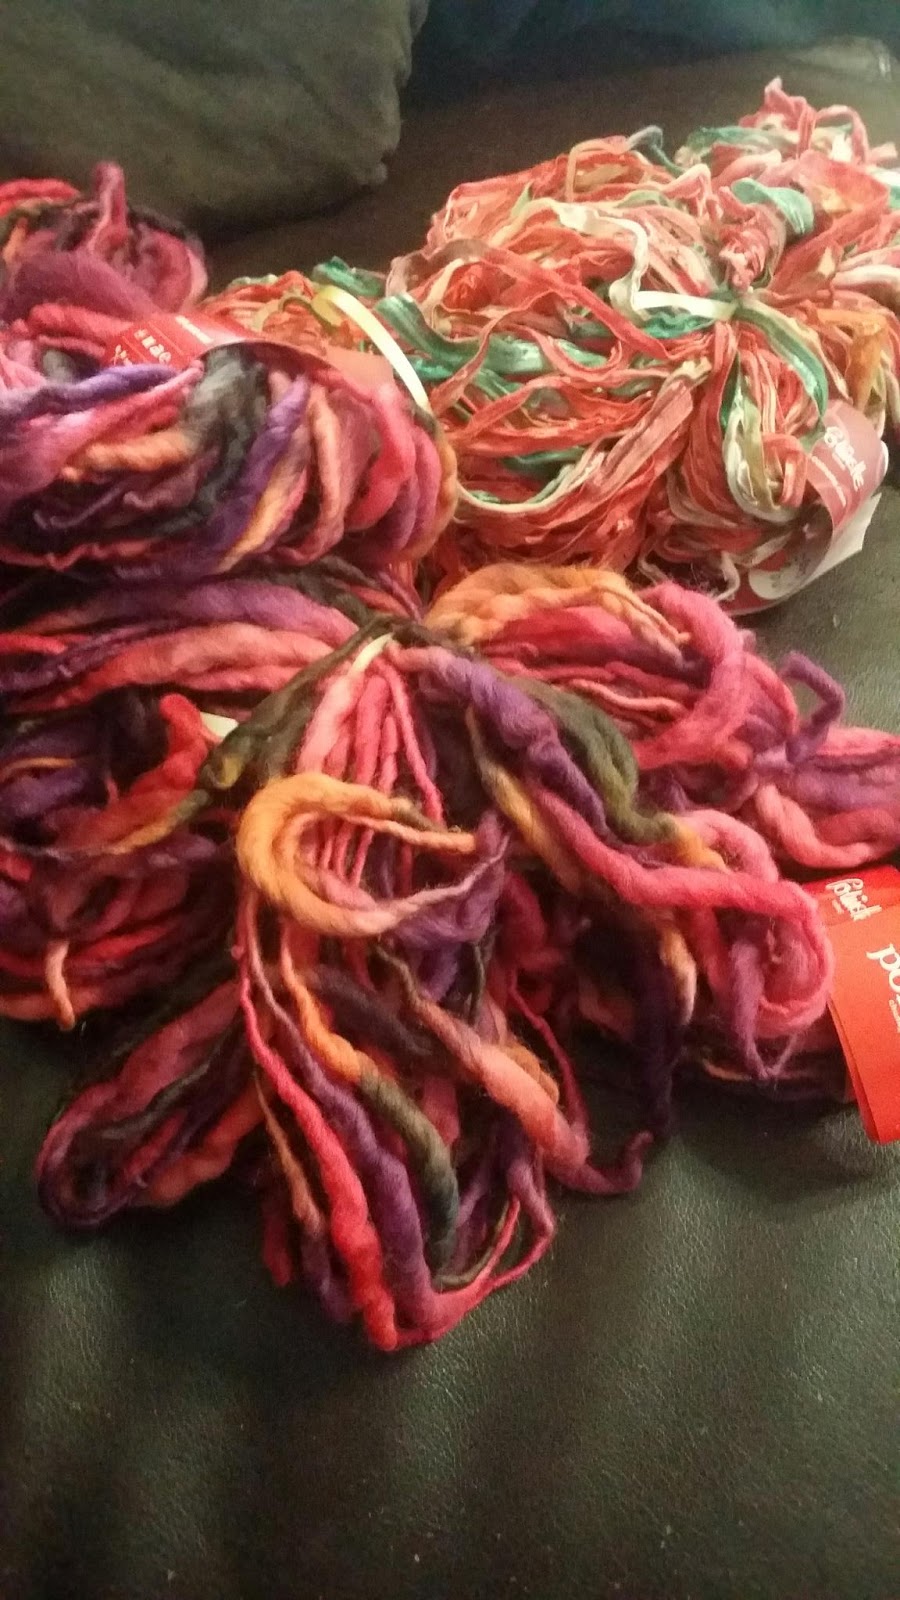
Tip 2: Go for the Fat Yarn
This makes so much sense to me now and I can't believe I had never even thought that the size of the yarn made a difference. This tip was from one of the ReStore volunteers. Fat yarn (about the diameter of a pencil or larger), makes fat loops and fat loops means fewer stitches needed to see actual progress. Another fail safe for newbies, go for this oddly inconsistent gaged looking yarn. (pictured below) The variations of widths found in the strand is specifically to produce those nubby lumpy looking stitches found on those comfy fluffy scarves, hats and blankets etc, so having inconsistent loop sizes that most beginners struggle with and that are normally extremely noticeable virtually disappear.
Tip 3: Use a Fat Hook
The large loops made from the fat hook make it much easier to see what your next stitch will be and cuts down on missing a loop. It also makes it easier to see where you may have made a mistake if you find yourself with one. The yarn will most of the time have a recommendation on the label of the size hook or needles to use too. Being that I purchased my fat hook at ReStore out of its original packaging and without any viable markings indicating it's size, I am showing it in comparison to a Sharpie.

Now for the part I know you really want to know, how did these tips work for me? Well, I still have a lot of learning and practicing to do. I have actually produced a few pieces that I am happy with and where I don't have high expectations of being the next big thing on Etsy with my knits in the near future, I would confidently gift or wear them myself in public.


Wishing everyone a VERY MERRY Christmas and HAPPY New Year!
🎄❄⛄
~Andrea~
No comments:
Post a Comment