


This cute little is a kid craft project that you will want to display year round. A new spin on the classic Giving Tree, transforms what your child is thankful for into a work of art.
What you will need:
Base- I am using this piece of white birch from a limb that fell off our tree.
1/2 long threaded rod
Drill
Floral wire
Shrinky Dink Paper
Felt tip markers
Hole punch
Scissors
Shrink tube
Heat gun or hair dryer
White chalk marker
STEPS:
Prepare your Base:

Drill a hole into the center of your base about 1/4 inch deep.


Screw in your threaded rod. A wood dowel or even a regular screw with a small head and thick thread body will work too -- don't forget to check the ReStore for all these supplies!

Put your base to the side
Tree:
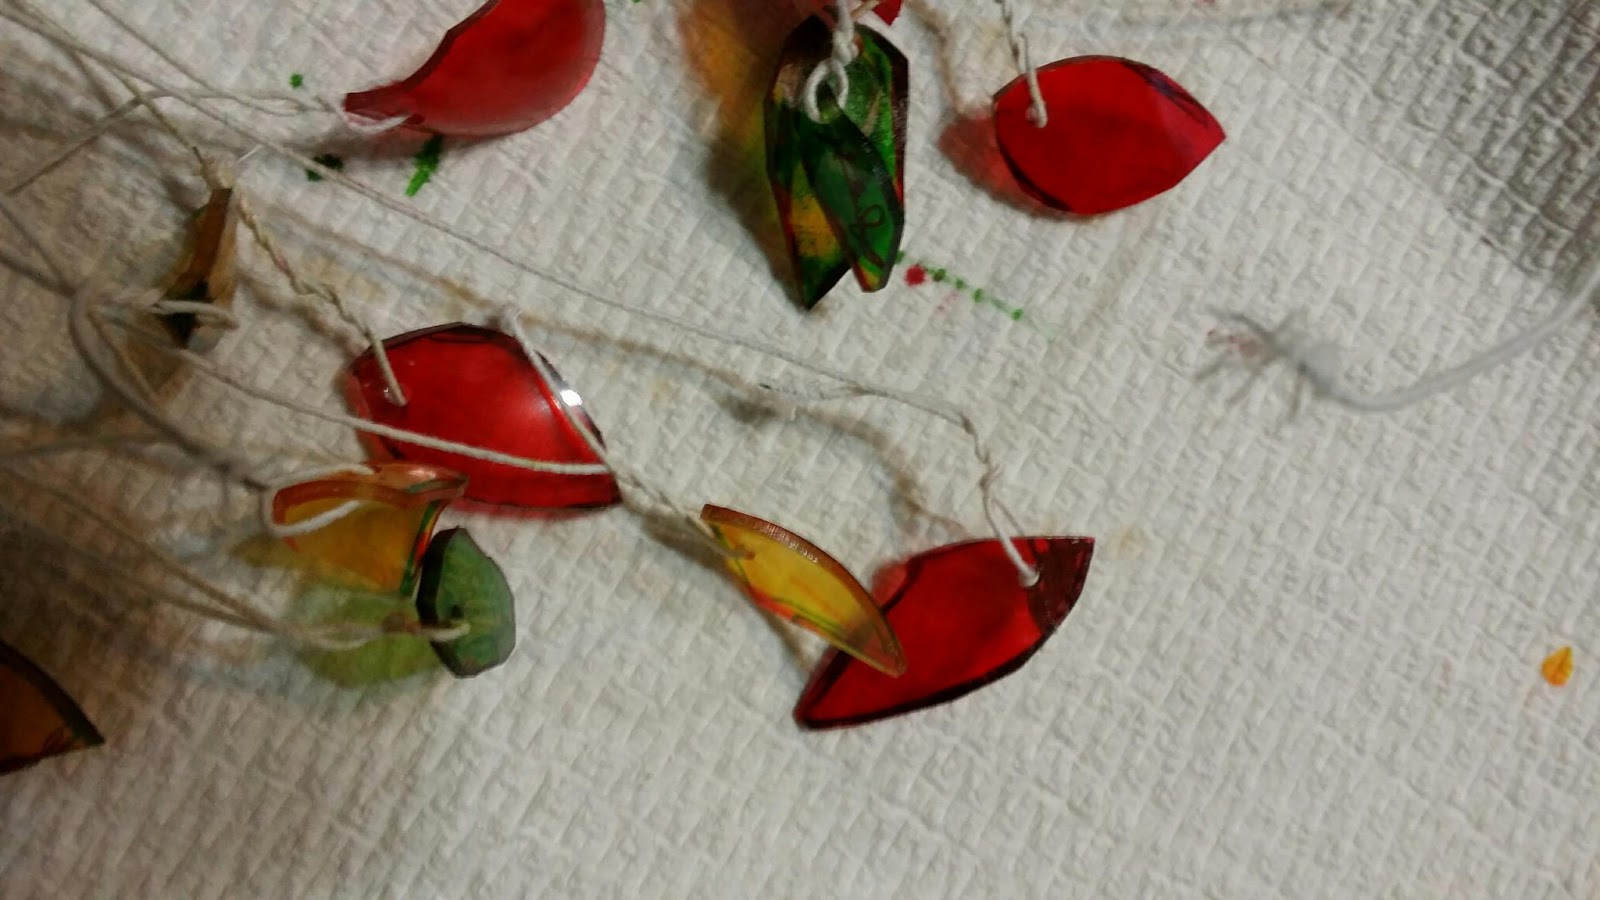
Cut your clear shrinky dink paper into leaf shapes approximately 3- 4 inches large and punch a hole in the bottom center.

Using a felt tip marker, color the entire leaf and have your child write what they are thankful for on it.

Fold your floral wire in half and loop each end through the hole in a leaf.

Once all your leaves are tied to the wire, follow instructions on shrinky dink film package to shrink your leaves.
Bundle your wire together as shown.

Slip your shrink tube over "trunk"

Slip your shrink tube and wire tree over threaded rod on base

Use a heat gun or hair dryer to shrink the tubing.

Use a chalk marker to color the trunk.

Until next time...
Andrea
No comments:
Post a Comment