

This fire extinguisher box, normally found inside of commercial buildings, is an example of a typical salvageable item ReStore takes as donations to sell in their stores to the public to raise money for Habitat for Humanity to build a home in our community.
Last year, the Mooresville and Cornelius ReStore locations alone saved 622 tons of salvageable material from going to the landfill. To date, since opening, the Our Towns ReStores have saved more than 7,900 tons of materials from being dumped in the landfill. Combine that figure with the 9 other Metrolina ReStores in the Charlotte and surrounding area and that figure is staggering!

I know what you're thinking, "That's great, but why would I ever buy an ugly commercial fire extinguisher box for my home?"
After reading this super quick and simple DIY, you'll want to run out and get 6!
ReCycled Cabinet DIY:
Materials:
Paint
Drill
Small screw, washers and nuts
Table legs and bracket plates
2 Exstiquisher Boxes (minimum)
2 steel 6"× 3/4" mending plates
☆After cleaning the box with some all purpose cleaner, use a drill or screwdriver to loosen the screws to the clips that hold in the plexiglass to remove it. Put plexiglass to the side for later use. Remove the handles and place to the side as well.
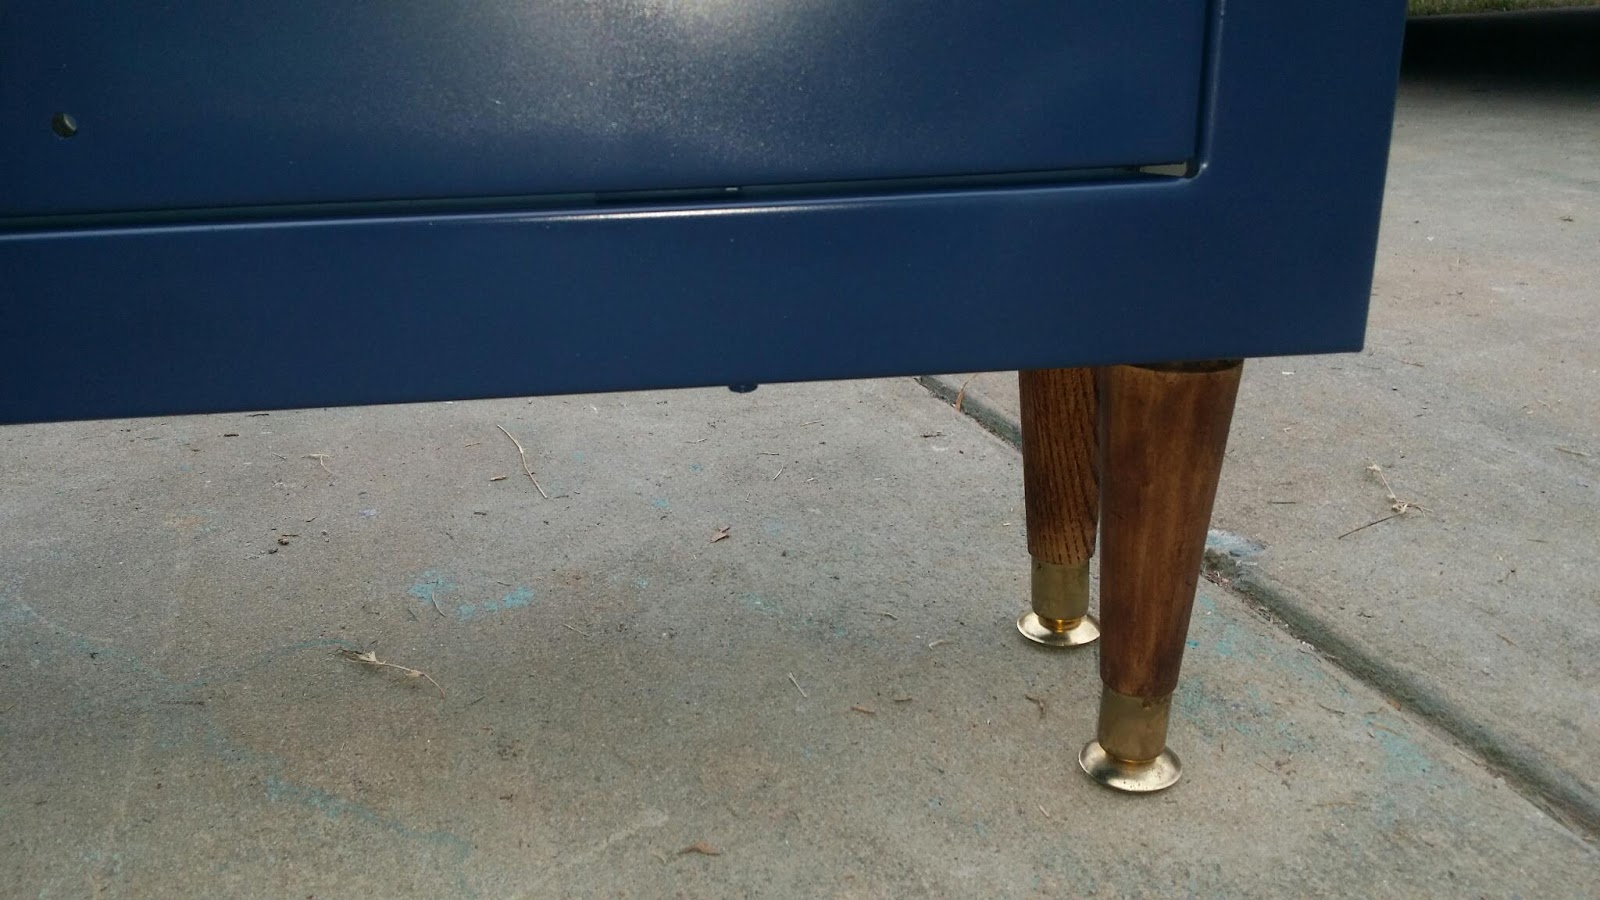
☆I wanted more of a mid-century modern look. So I attached table leg brackets that legs will screw into later on to the opening door side of the box using a drill to make the hole and then securing the bracket plates in place with small screws, washers, and nuts.
 |
| Leg bracket plate |
*Need a tall skinny cabinet instead of a short and wide one like I am making? Simply attach leg bracket to the bottom of the cabinet instead.
☆Paint the boxes and handles. I am simply using a spray paint that is recommended for use on metal and a metallic gold on the handles.

☆Once paint is dry, remove the 2 screws found at the new top of the box opposite the table leg brackets and the 2 screws on the now bottom of the other box.
☆Stack the boxes and use 2 of the screws you just removed to attach the 2 boxes together.
☆Screw table legs to bracket plates. And attach handles.

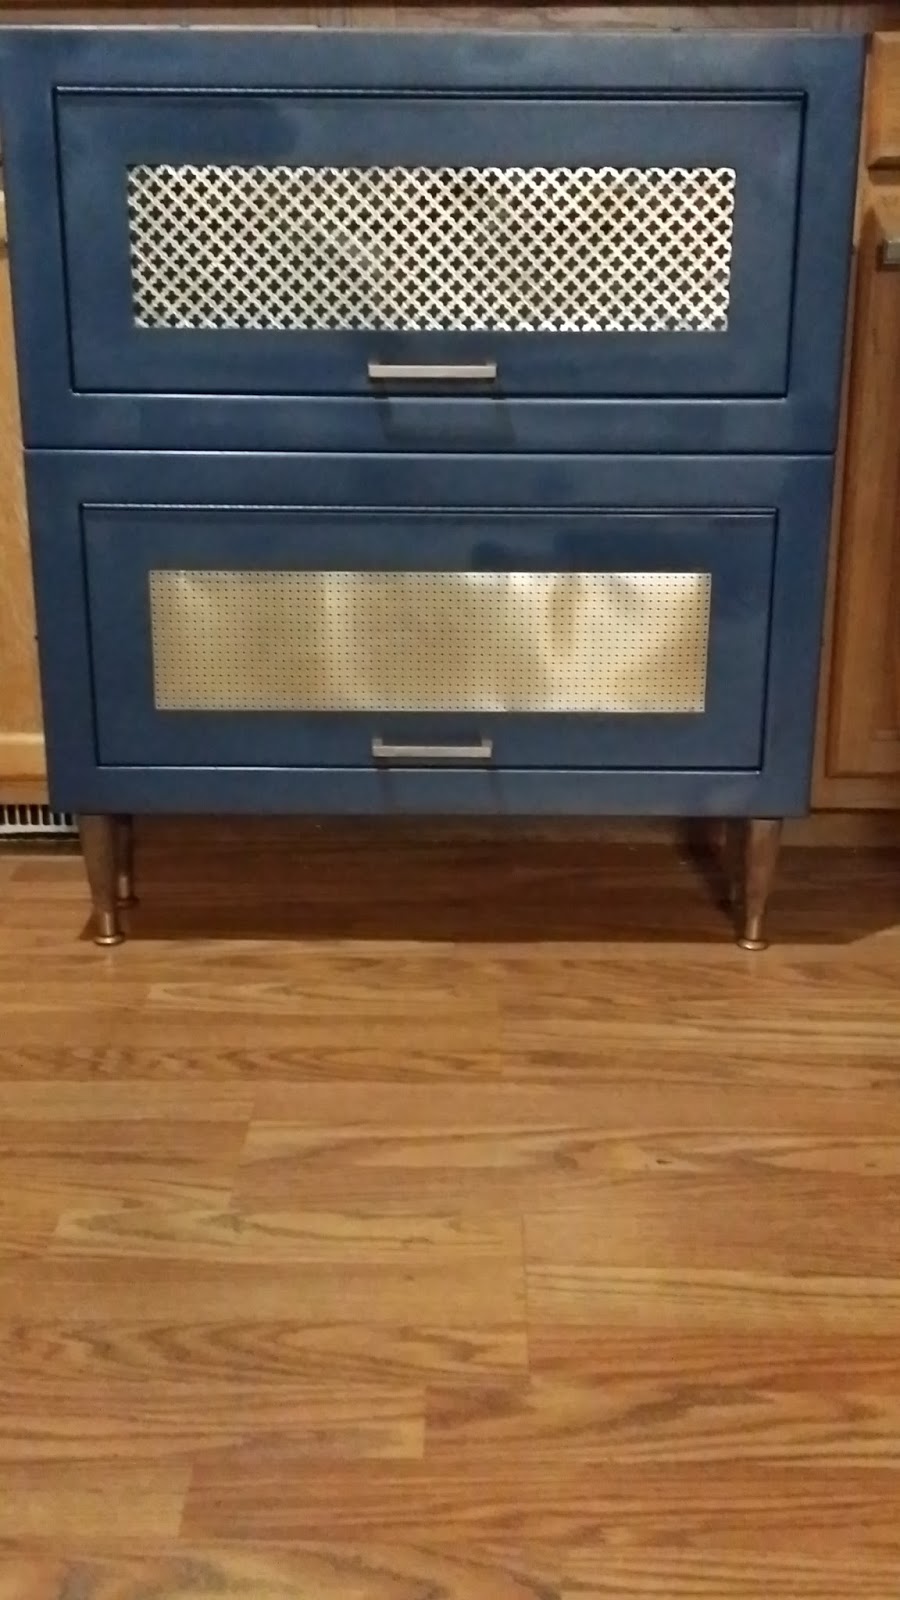
☆Simply replace the plexiglass as it was and tighten screws for a display type cabinet. I used something found at my local hardware store for radiators in front of the plexiglass. Try something different try chicken wire, metal, cork board, chalkboard, fabric or even contact paper.


☆Attach the top and bottom pieces together in the back using the existing holes found in the back of the box and screws, washers, and bolts. For added security, your finished piece will have 2 holes located in the bottom rear of the bottom section and 2 holes located at the top rear of the top section, simply use screws to secure it directly to the wall.

This simple DIY can easily be made to fit in every type of room design style by chosen the right paint color, legs, and window treatment. But most importantly, not only are you saving a ton of cash with this DIY, you're doing your part in saving the earth by recycling material that otherwise would be placed in the landfill!
~
For more information about dropping off or scheduling a pickup of donations to a ReStore in the Metro-charlotte area or imformation about more ways to support, please visit their website.
No comments:
Post a Comment