

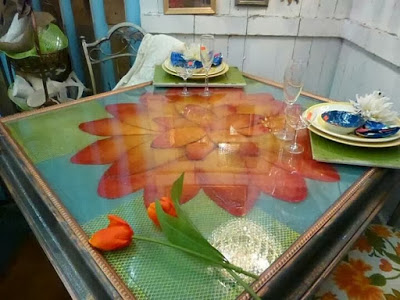
During a visit the other day with a neighbor, I sat down at her kitchen table and realized that it had been the table that I had made for the Our Towns ReStore 2013 Restore Restyle Designer Challenge that she had bought the night of the event. Seeing it again and talking about how it came to be, I thought I should share that process.
I had came across this giant framed picture at the Restore in Mooresville. Though I wasn't in love with the picture inside, I was in love with the frame and all of it's detail.
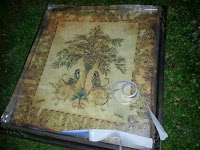
Not to mention it's perfect square size!
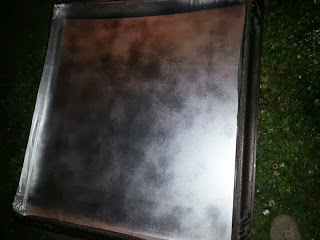
I started by taping off the inside of the frame and spray painting with my favorite color of primer, Silver Metallic. I highly recommend using this as a primer for everything. It seems to coat evenly, concealing everything and adheres well to finished surfaces virtually eliminating the need for sanding. I also find that it makes your top coat a more truer color that is brighter and with a more multi-tone effect as a result of how the light reflects off the metallics.
After allowing the primer to dry, I then painted my top coat and allowed to dry. Then sealed the frame to the picture with clear silicone caulking. I covered the picture part and painted the outside of the frame.
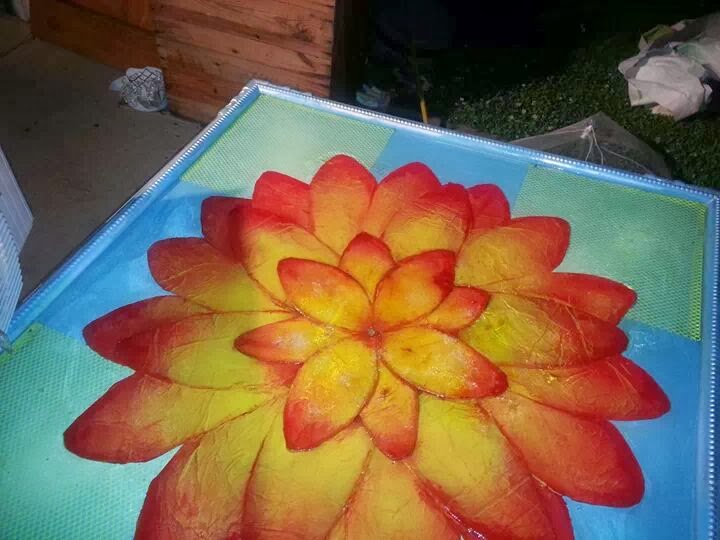
Next step was cutting up the this cardboard of old Christmas gift boxes into my flower petals.

I laid the petals out in a three circles, decreasing the size of the center with each ring. I sprayed each ring with spray adhesive, ensuring that each petal was fully coated and then used colored tissue paper that I had wrinkled up and placed it on the cardboard. I used red, yellow and orange tissue paper, placing the red and orange on first and then sprayed more adhesive and placed the yellow at the inner part of the ring to give the flower more dimension. With the tissue paper in placed, I stacked the layers on top of each other and used yellow and orange with coral/red spray paint to lightly mist the flower to blend the colors together of the paint and tissue.

With the base of of the table now complete, I glued/screwed the picture to the top of the pallet. I sealed any holes that were made with the silicone caulk. I arranged the metal square in the corner and glued them down. Then I placed my flower into the center with glue and nailed a decorative paperclip with a upholstery brad in the center of the flower.

I used the metal grate of a commercial drop ceiling HVAC vent and cut it into 4 even squares and spray painted them green.
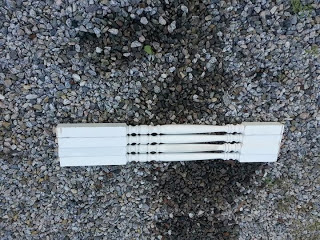

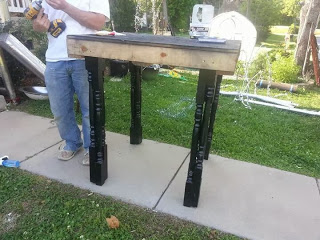
For the legs, I used 4 stair spindles nailed together I got from Restore ($2 each) for each leg and painted them black. I screwed the legs to the bottom of a small pallet, then nailed/glued the the picture down to it.


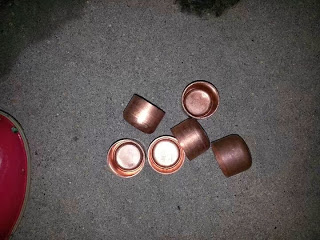
For extra detail and to make the table appear more complete, I used 4 copper plumbing caps ($.50 each) and used a hole saw on the bottom of one of the 4 spindles for each leg and hammered the cap into the hole. I decided to use an epoxy countertop mix to create a hard cleanable surface. Following the directions on the bow for the mix, I poured it inside of the frame and waited for it to dry.
Using a base moulding from the Restore to cover the visible part of the pallet under the frame, I then painted it. Once the epoxy had thoroughly dried, I placed a piece of plexiglass, also from the Restore, cut to size on top and sealed it to the frame with the silicone caulk.
This was one of my favorite pieces of the room. The final cost to create this one of a kind table was $75 and 2 days of work. I couldn't be happier with the final result and my neighbor loves having what she refers to it as "functional art" and conversation piece.
Until next time,
Andrea
No comments:
Post a Comment